Email Server Settings
Reference these values when prompted during setup on any device or email client.
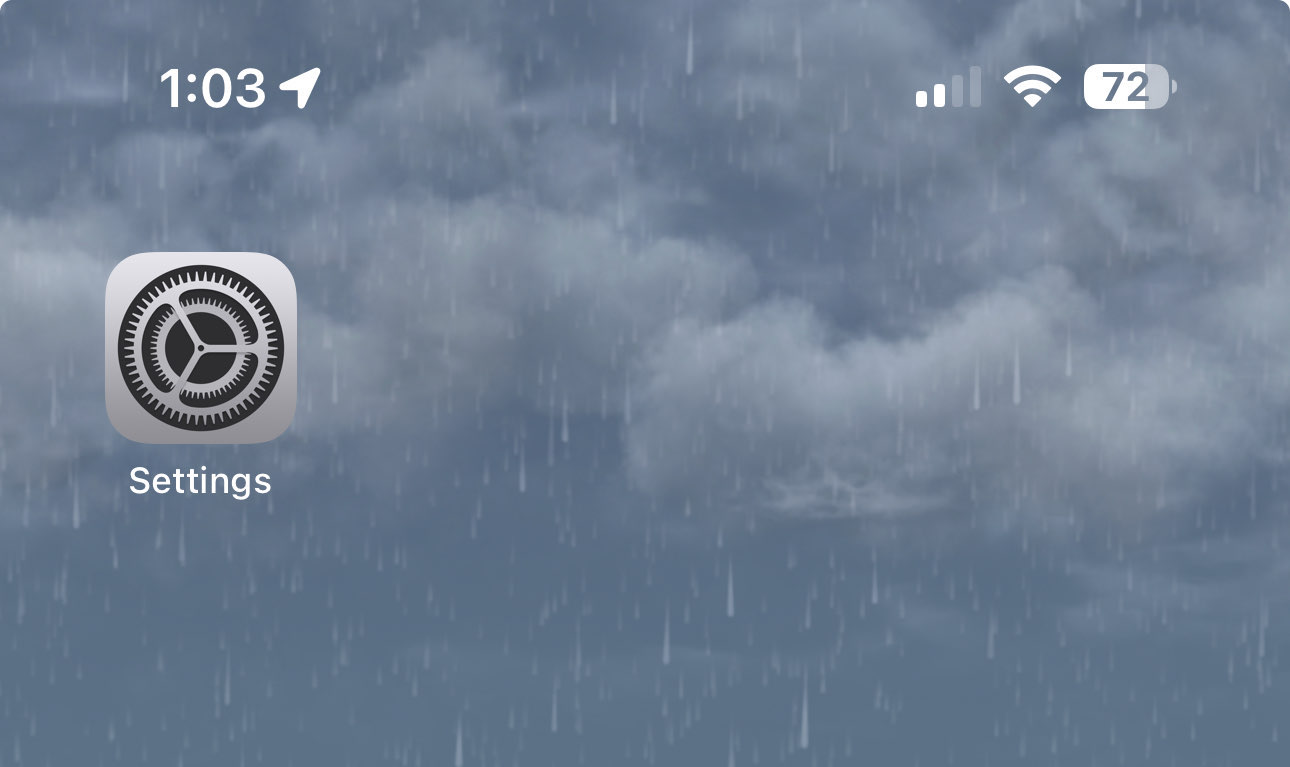
Locate and tap the Settings app on your iPhone home screen.
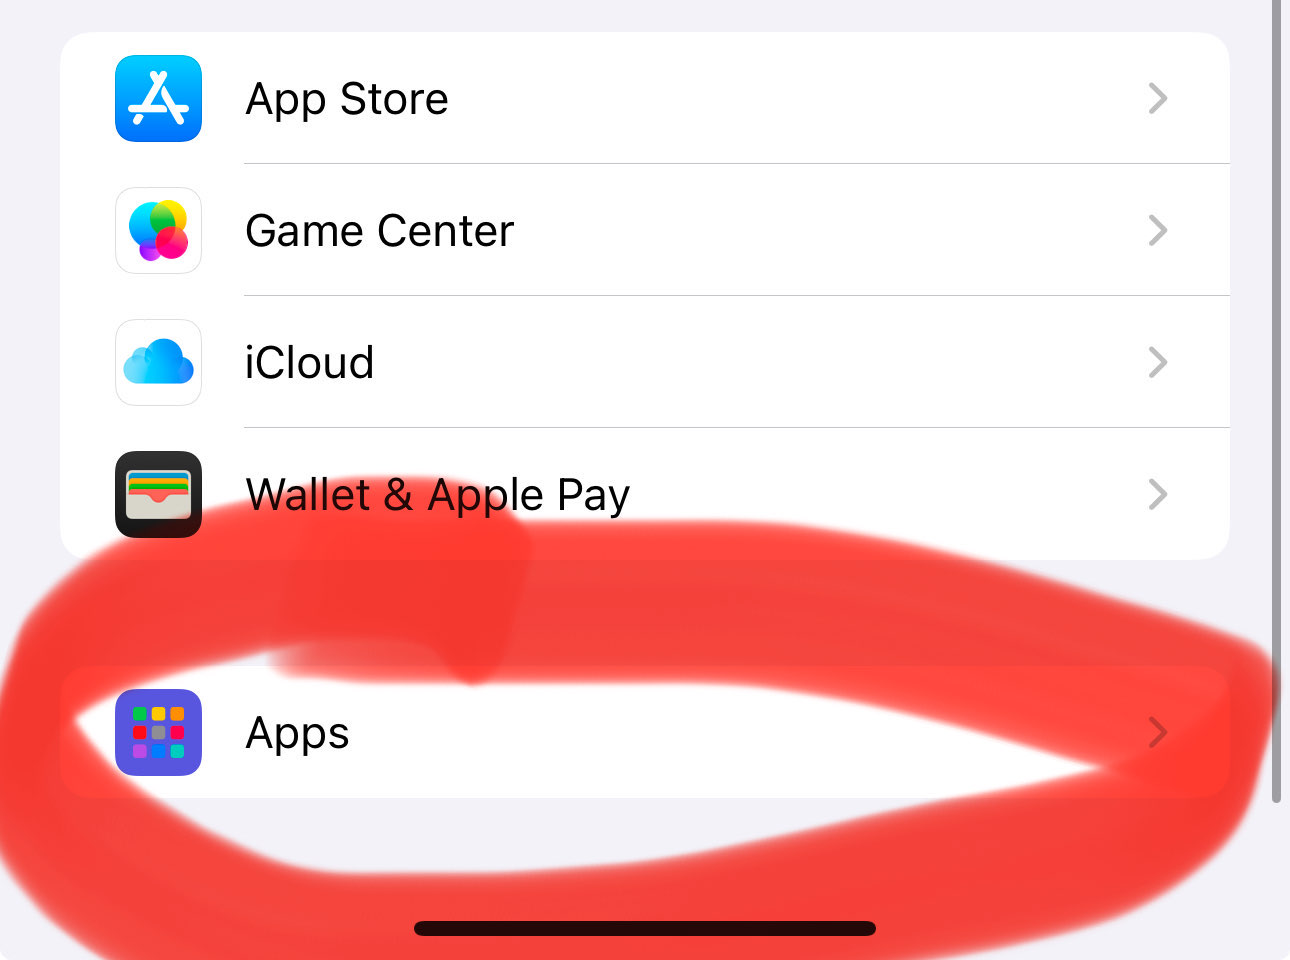
If your iPhone is running iOS 18 or later, scroll down and tap Apps. If you're on an older version of iOS, skip to the next step and go directly to Mail in Settings.
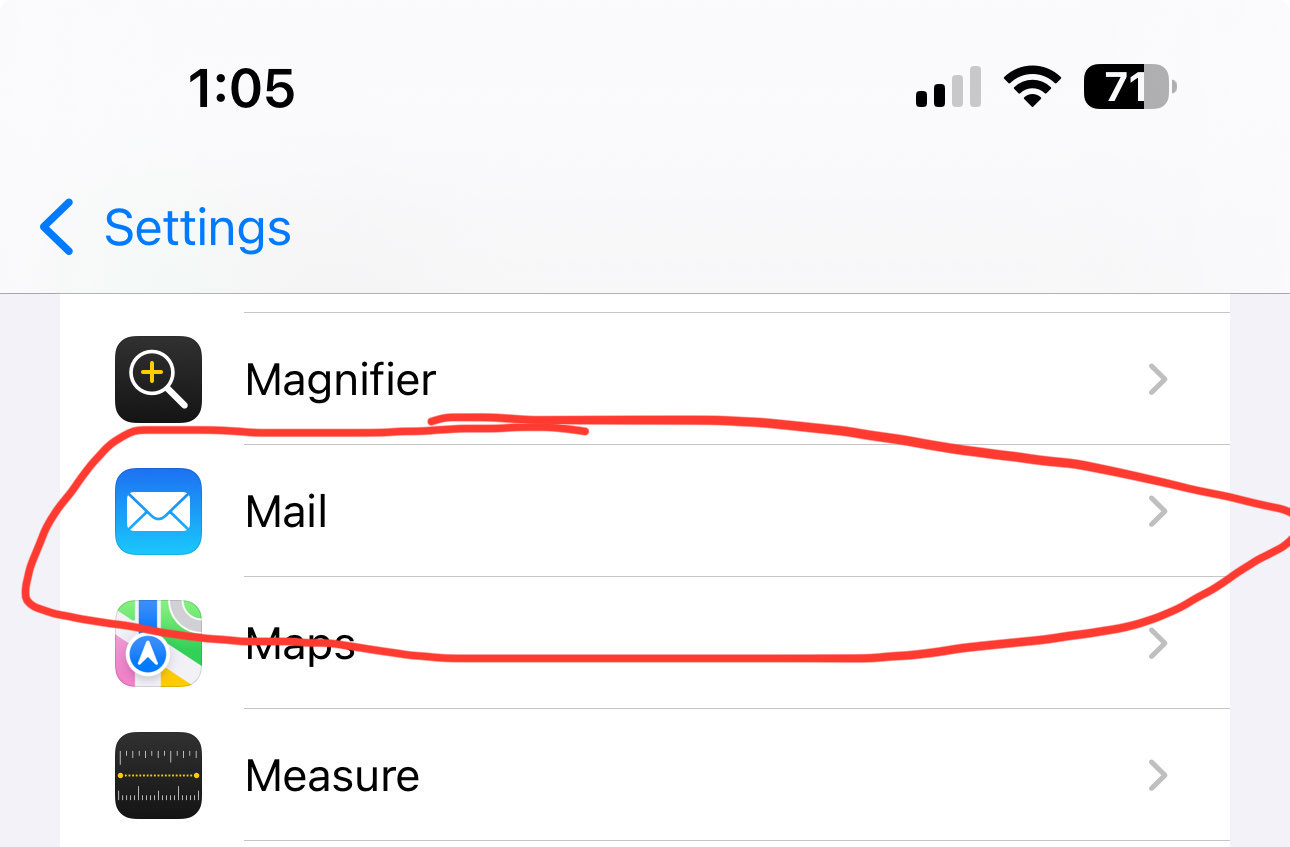
In the Apps list (or directly in Settings on older iOS), tap Mail.
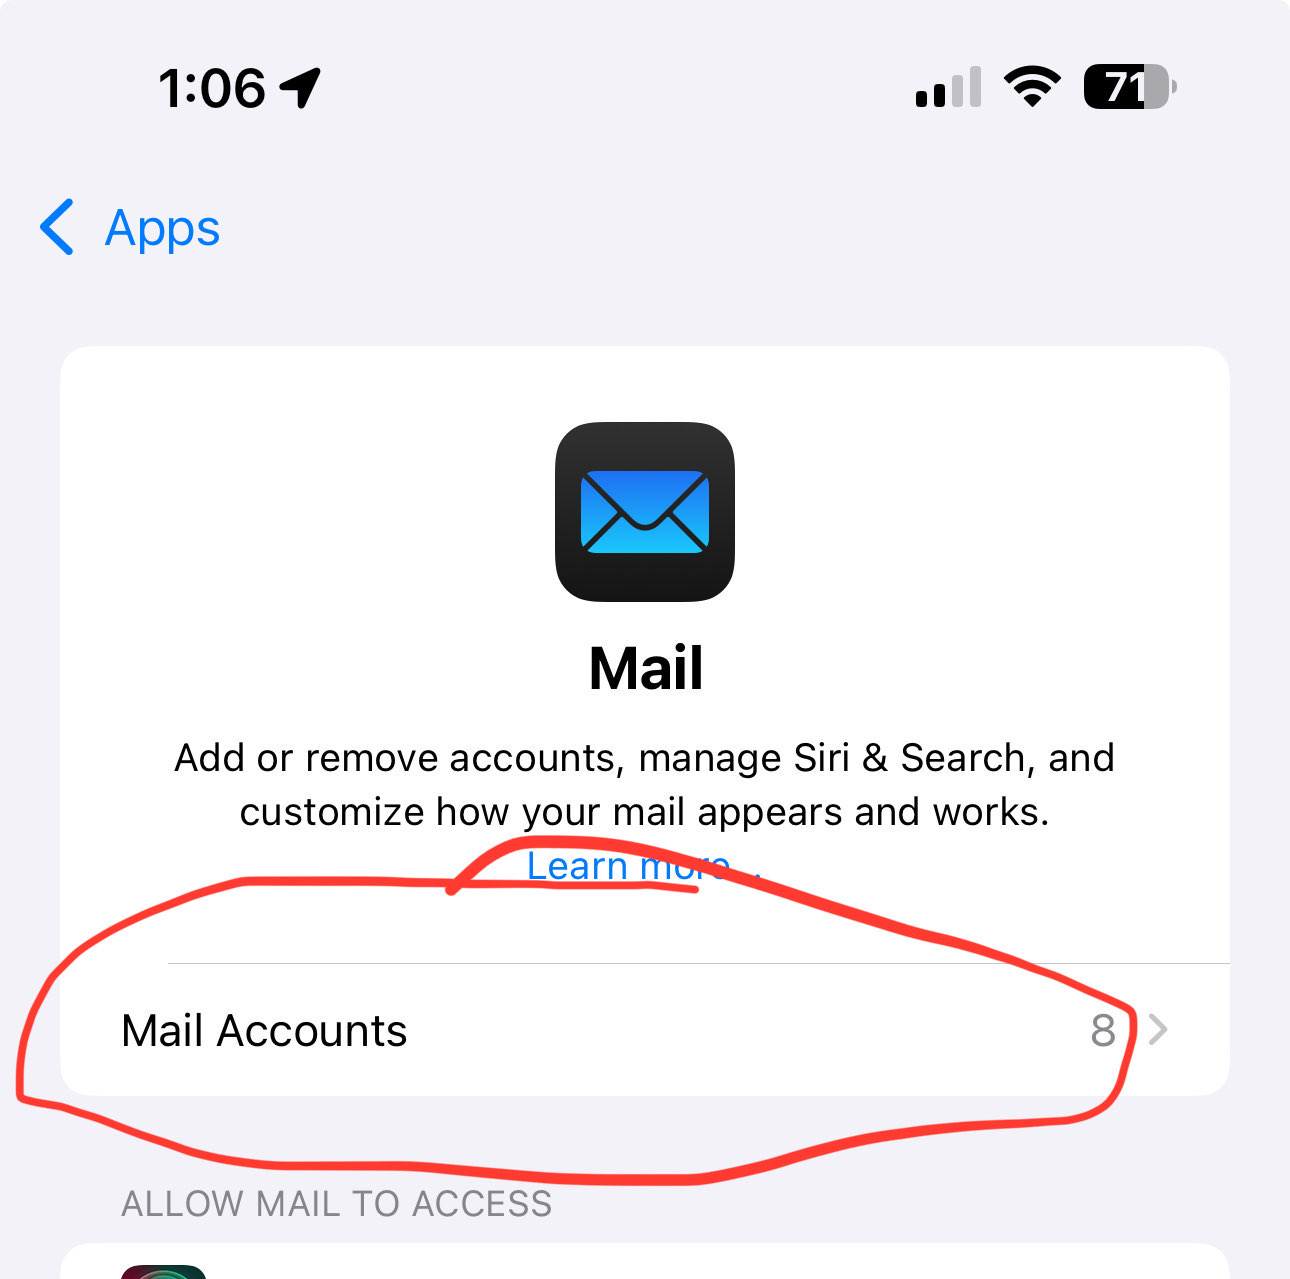
Inside Mail settings, tap Mail Accounts.
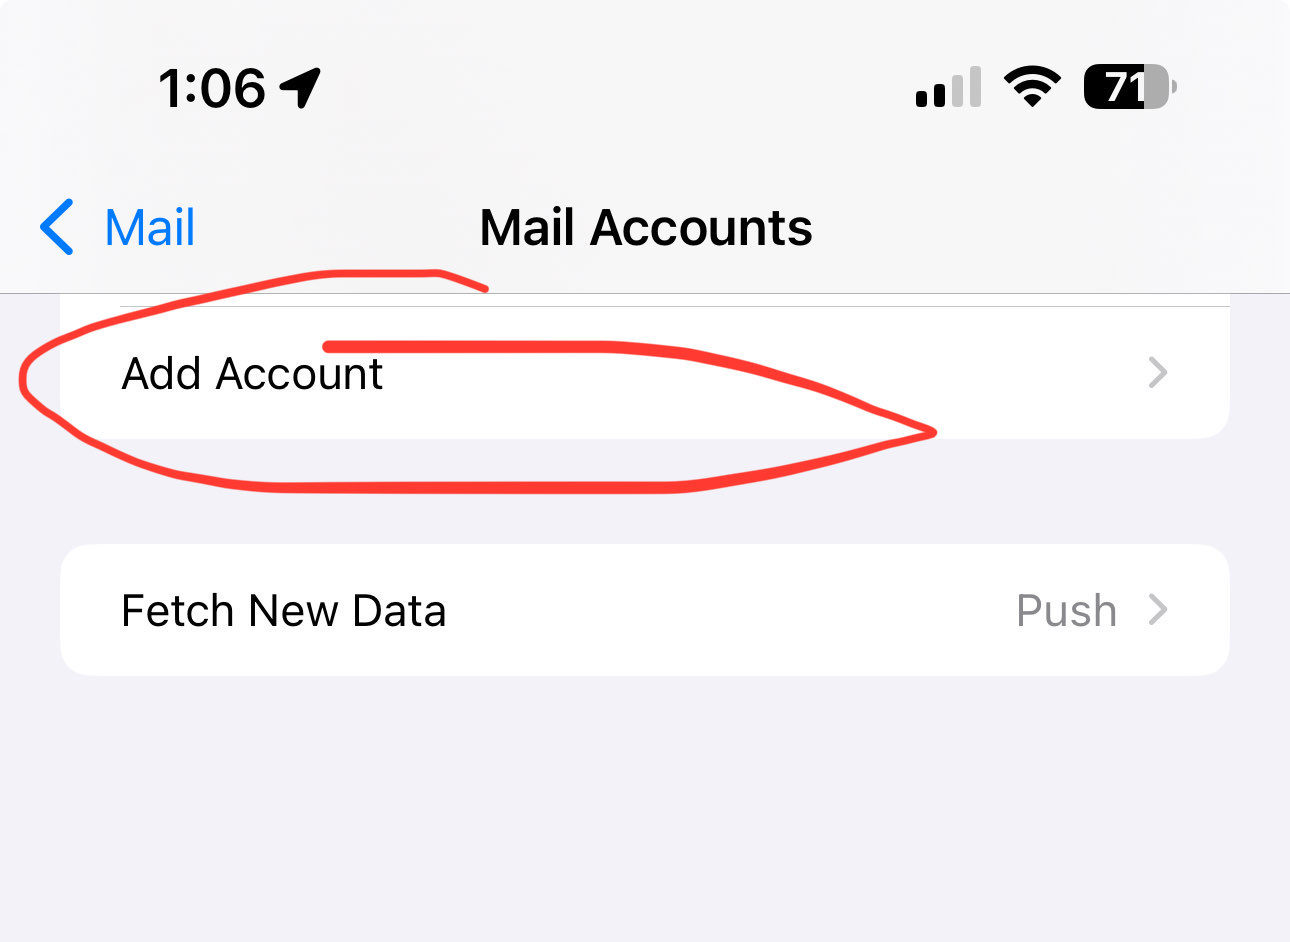
On the Accounts screen, tap Add Account.
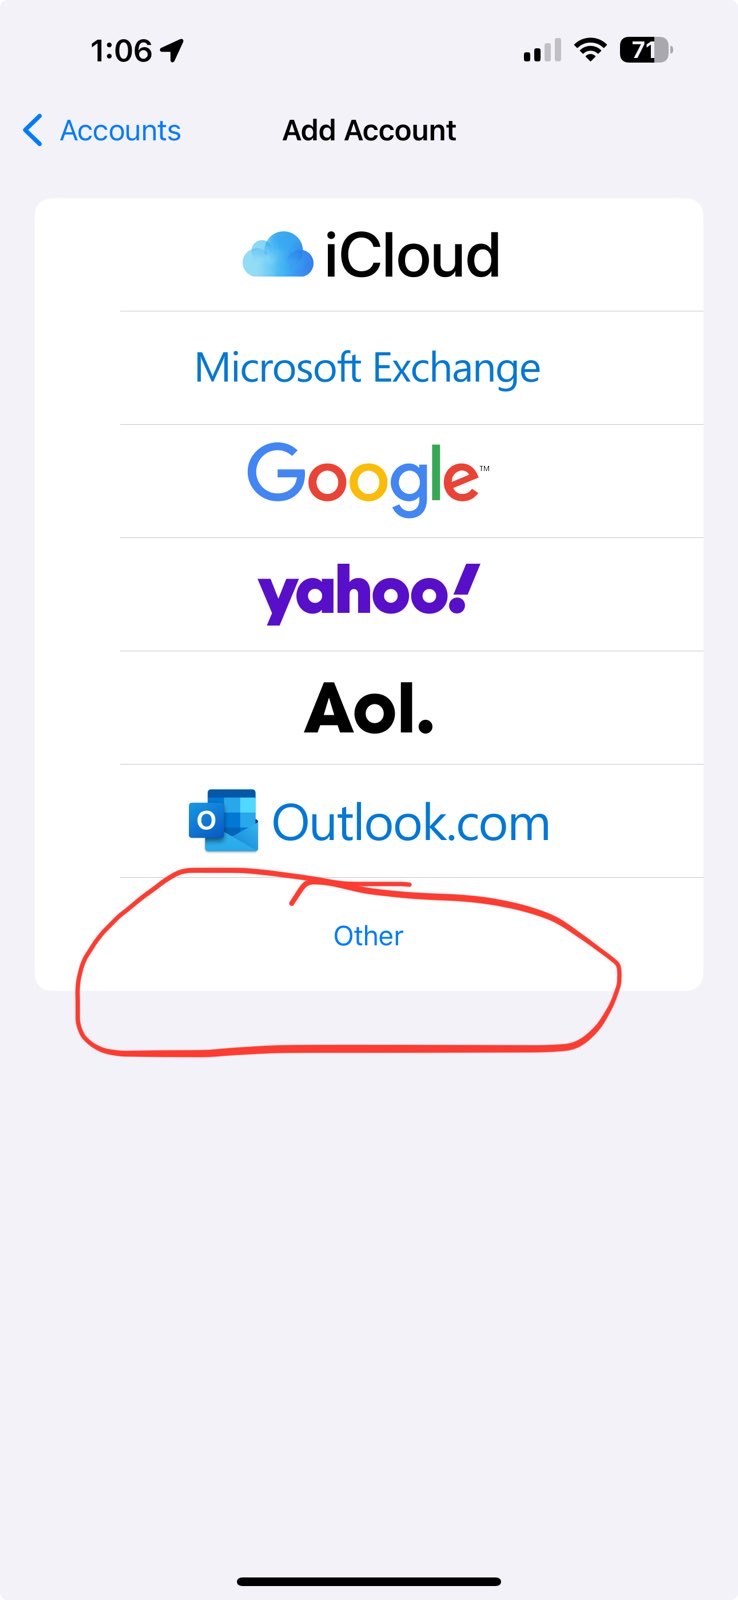
When prompted to choose a provider, tap Other at the bottom of the list.
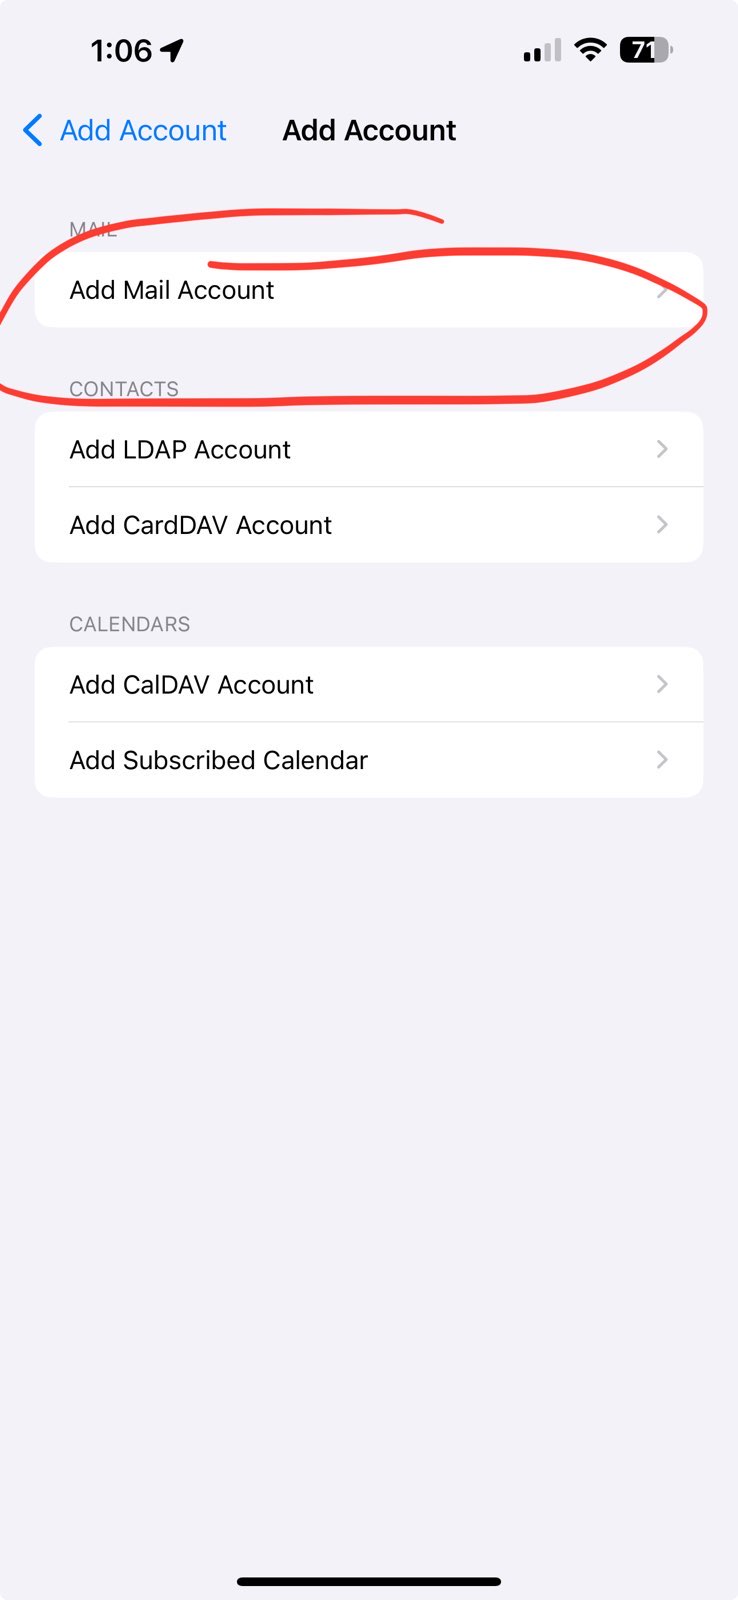
Under the Mail section, tap Add Mail Account.
Fill in all fields as shown below. All fields are required — nothing is optional. Your username must be your complete email address.
On the next screen, confirm IMAP is selected, then fill in both the Incoming and Outgoing server details from the settings reference card above.
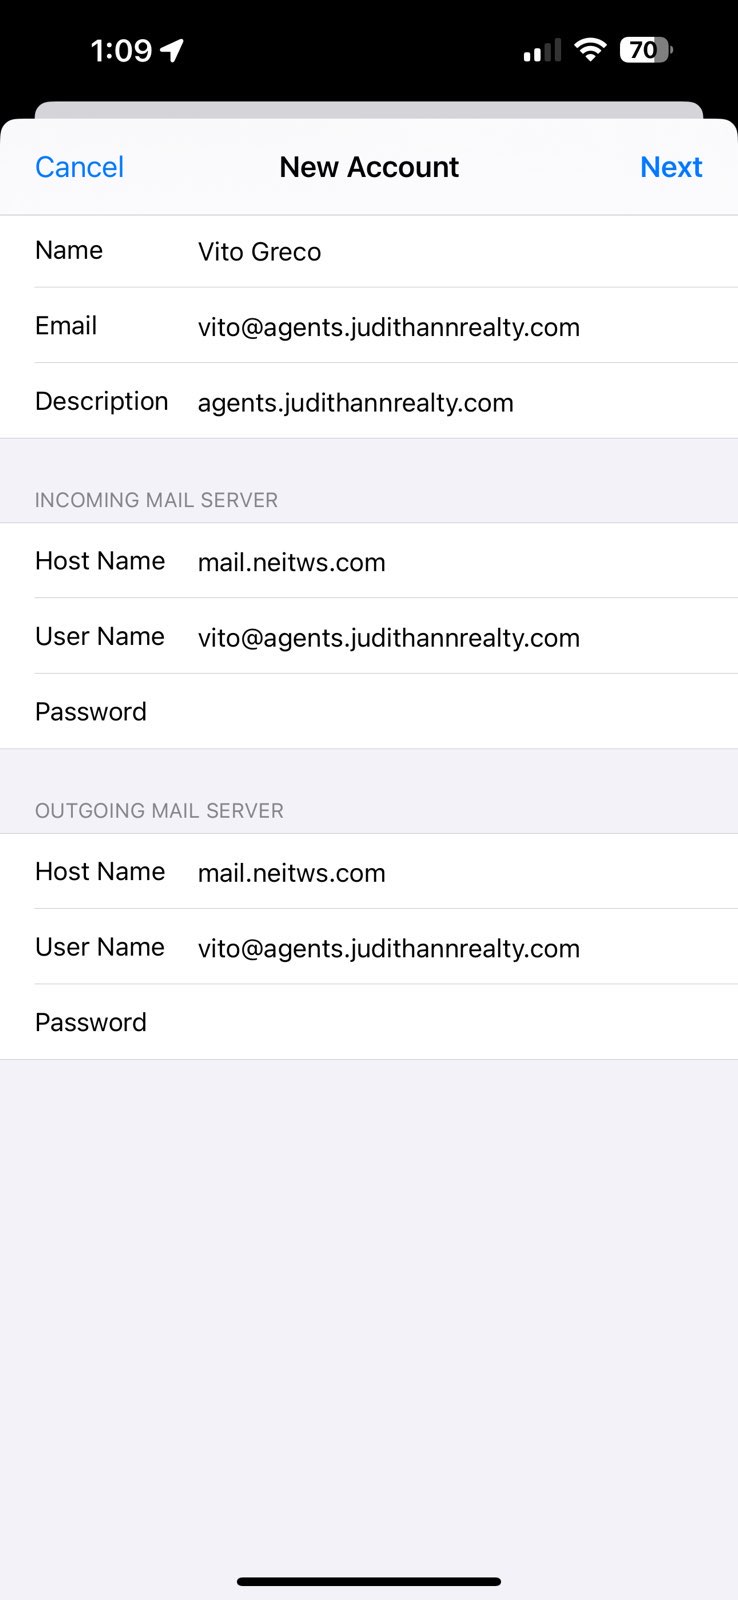
Tap Next in the top-right corner. iOS will verify your settings — this may take a moment. Once verified, tap Save.
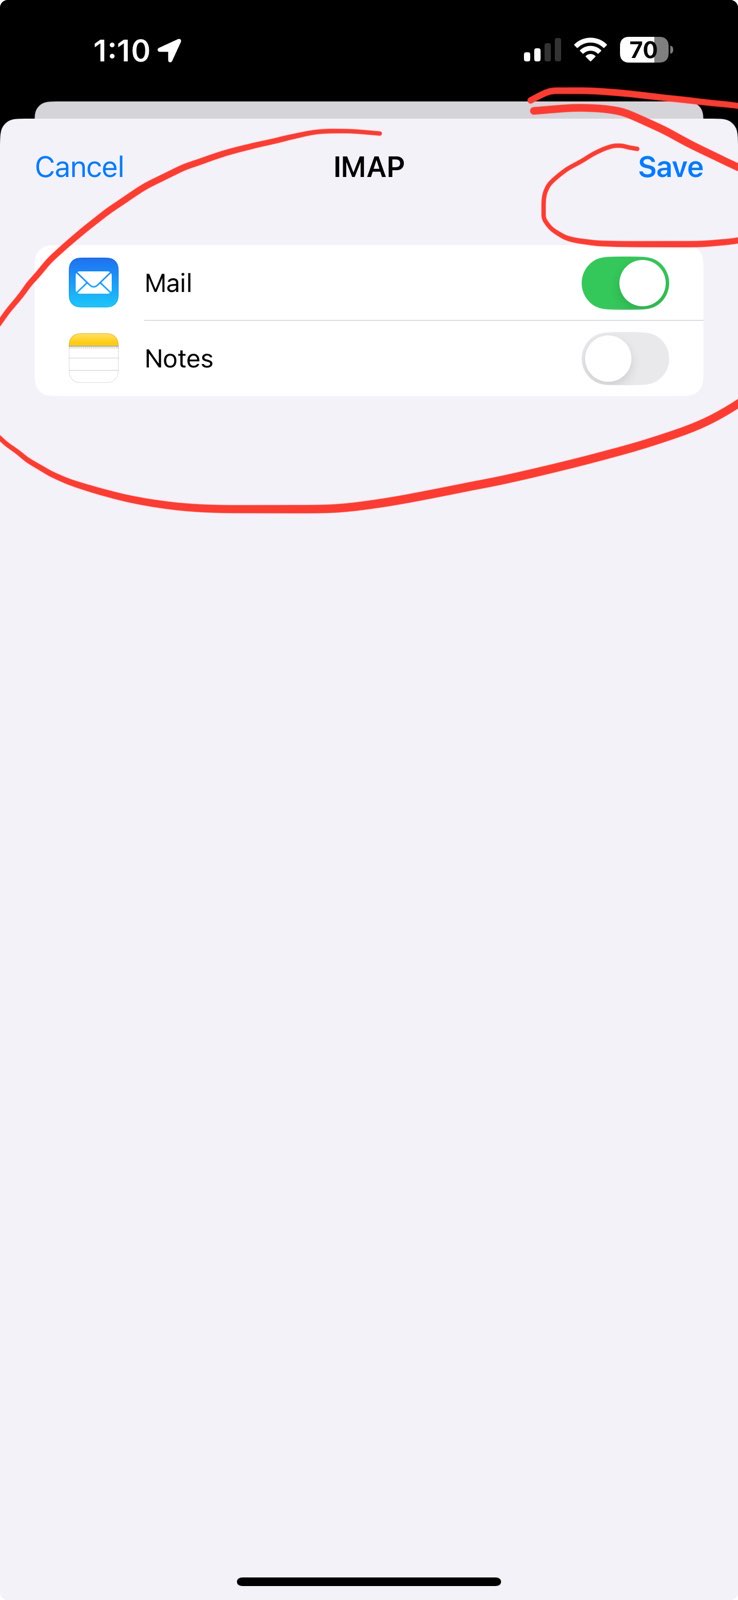
Your email account is now added. Open the Mail app — your inbox should begin syncing.
Android Setup — Gmail App or Stock Mail
Android email setup varies slightly by manufacturer and app, but the process follows the same general flow. Use the server settings from the reference card above.
Using the Gmail app (recommended on most Android devices):
- Open the Gmail app and tap the menu (☰) → Settings.
- Tap Add account → Other.
- Enter your full email address and tap Manual setup.
- Select Personal (IMAP).
- Enter your password, then fill in the Incoming server settings:
- Server: mail.neitws.com
- Port: 993 · Security: SSL/TLS
- Fill in the Outgoing (SMTP) server settings:
- Server: mail.neitws.com
- Port: 465 · Security: SSL/TLS
- Tap Next to verify, then give the account a name and tap Done.
If you're using Samsung Email, Outlook for Android, or another app, the steps are similar — look for Add account → Other / IMAP and use the same server details.
Still having trouble?
If your account won't verify or you're getting password errors, double-check that you're using your full email address as the username. If the problem persists, open a helpdesk ticket or call us at 518-620-6185 and we'll get it sorted out.